Showing posts with label diy. Show all posts

Thursday, May 2, 2013

wedding DIY nights.

we just completed DIY night 2 / 3 for angela & nick's upcoming nuptials. 

i hosted the first one and alicia the second, but the recipe is the same each time:
girlfriends + wine + cheese + scissors + glue guns + lace + programs + sore backs + the clock strikes midnight

almost everything is crossed off the list. we're so close. 
and good thing, because we're just 15 days and counting. 
snip and clip and repeat.
it's gonna be a fiesta of grand proportions! 
fantastic helper. making sure the stack of 200 program sheets didn't go anywhere.
angela had the DIY a-team. a wedding planner, a professional apron maker & crafting crazed ting.
two tasks totally completed! 36 aisle chair decor tassel thingies and a sweetheart table sign.
excuse me? there's no resting.

Monday, April 30, 2012

diy bedroom makeover.

it was one of those rare - but awesome - weekends when we didn't have anything on the calendar. not a single obligation. we woke up on saturday morning and brainstormed things to do and landed on an overdue diy project to spruce up our bedroom.

we've loathed our bedroom set for years. first of all, it's a set. it was danny's from back in the day and just didn't suit us at all. i changed the bedside hardware to try to help it, but that bed. ugh. it was time for something new. a neutral fabric headboard + new crisp white sheets. all light, bright and hotel like.

ting did some online research (he liked this tutorial the best), made a list of supplies and we were off to the races. in just 3+ hours we tackled this project and i'm in love with our new bed. it's a world of difference and we're obsessed.

breakdown of our costs:
$19 -- plywood cut to size (74" x 46") at Home Depot 
$46 -- 2" foam at Hobby Lobby (we found a 40% off coupon online)
$23 -- 2.5 yards of upholstery fabric + batting 
$.60 -- 20 buttons for covering in fabric
$.99 -- two decorative needles + thread
-----------
= $89.59 for a Cal King tufted fabric headboard
a little less expensive than some of the ones we looked at like this and these and these.
plus, we had leftover foam which we cut up to add some fresh fluff to huntie's bed.  

this was honestly a pretty simple DIY project that didn't require crazy tools - just some spray adhesive, a bit drill (to make the holes for the tufting), a staple gun, needle and thread. 


{ting created a grid on the plywood to mark where our tufts would go and then drilled holes}

{spray adhesive the foam to the plywood and then batting on top to secure everything}

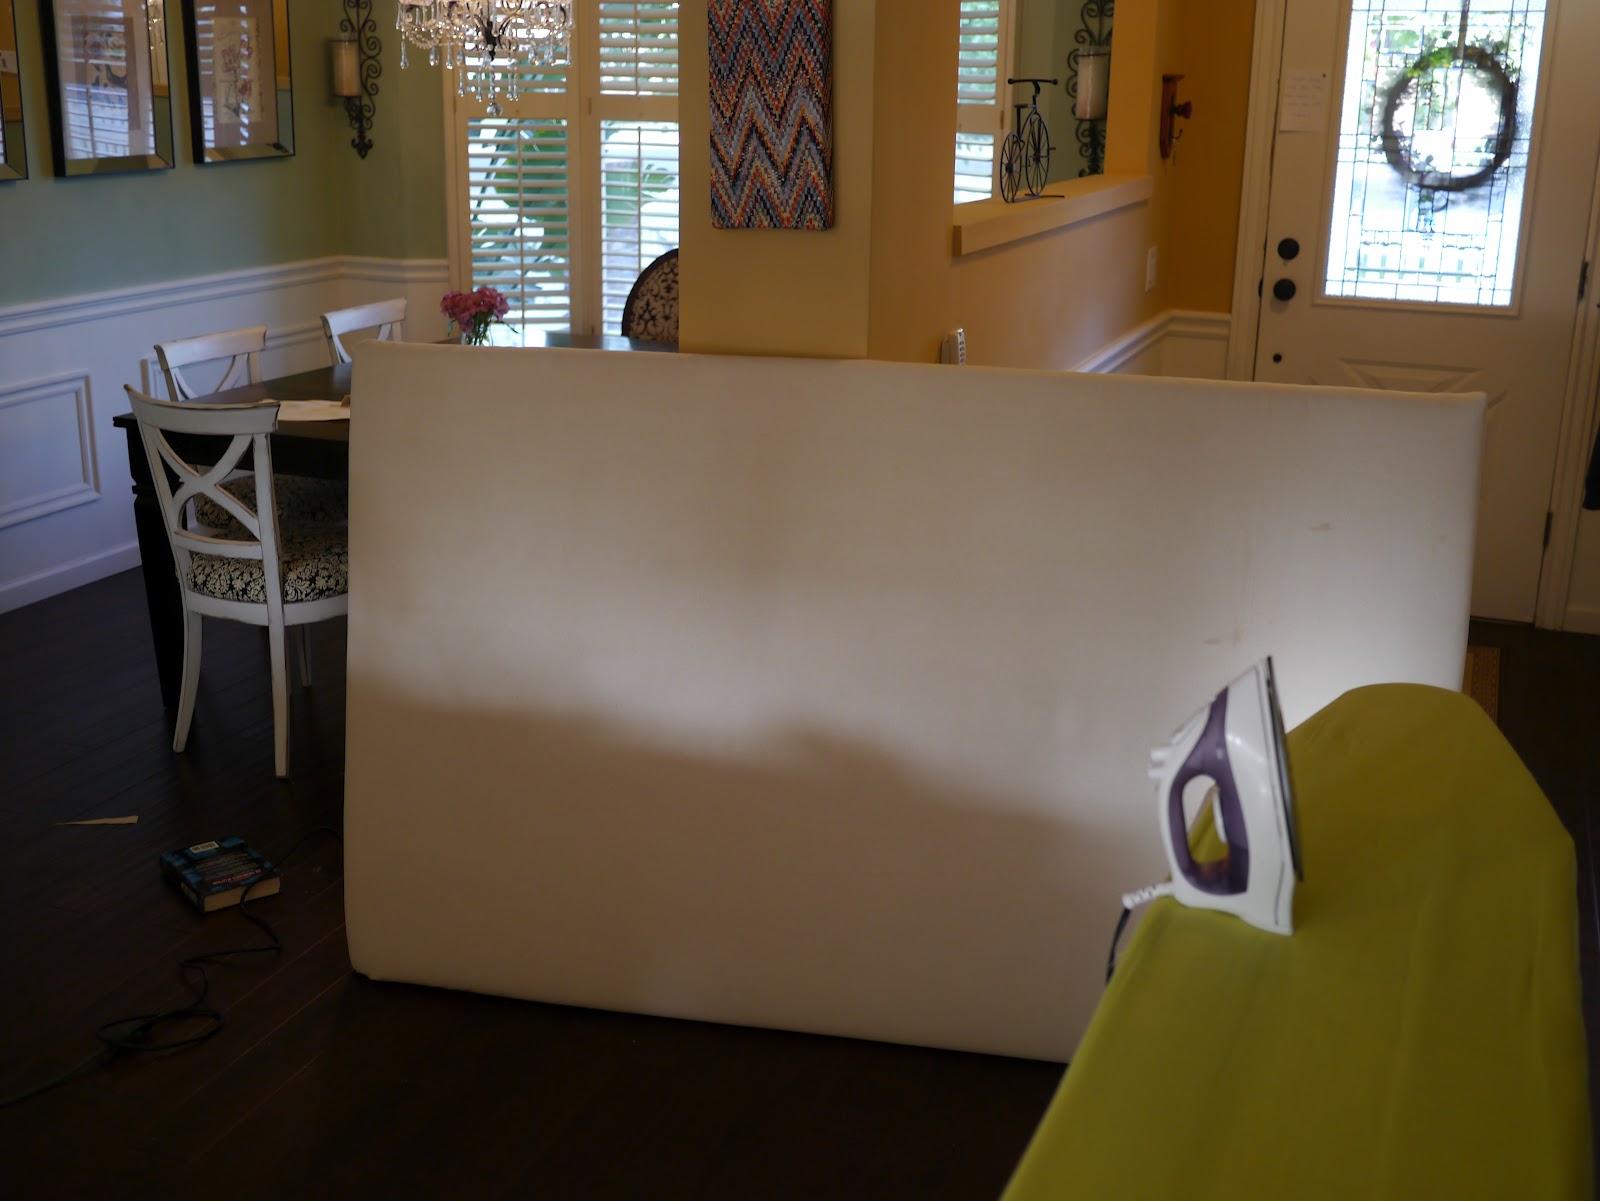
{ironing all the wrinkles out of our fabric}

{making fabric covered buttons. there's a much easier way to do this, but we couldn't find the kit anywhere}

{fabric on and ready for tufting!}

{danny would poke the needle through the holes marked in the back. i'd feed the button and send it back through}

{the finished product!}

{loving my new headboard and crisp white sheets. i feel like a queen in our new bed!}


Friday, March 30, 2012

DIY tutorial: clip-in hair extensions.

let's be real. when you see a celebrity or a girl walking down the street with a long luscious mane, there's a def a chance she's got some help in there. don't get me wrong, i have plenty of friends who have real manes (mentioned here), but even the Kardashians admit to wearing extensions.

it's never been a secret that i've wished for super long, naturally wavy hair. oh, how i dream. in 2005 i thought i'd make my wish a reality and went for "permanent" extensions... and that's when the hair torturing began. first flashpoint bond extensions (i'm so sorry hair) and then the toupee tape extensions (put double sided tape on your hair for six weeks, take it out and then get back to me on how your hair feels).

they all looked wonderful for the first couple weeks, but then the washing, the drying, the not washing and the tangling began. oh, and forget swimming. some people don't mind them, but i found perma extensions to be a huge pain in the rear. after my final round of head torture, i decided to use my leftover weft of hair to make clip-in extensions. i bought the supplies, YouTube'd a how-to video and was off the hair races. it's the best thing i've ever done (well, that may be an exaggeration, but not when it comes to my hair). they're so fun and so easy!

making them is cake. if you can thread a needle, you can sew your own clip-ins. the secret's out. i love them.

{both of my hair stylists have recommended the brand 909, it's real hair (vs. synthetic) and super high quality. it's about $150 for a 6-foot weft of hair that'll last you for a couple sets of extensions)


Tuesday, March 20, 2012

rainy day home project :: gallery wall.

we took advantage of a rare rainy day over the weekend and tackled a home project. we didn't have plans to do this, but after a cup of coffee and some chatting about how much we hated the wall, one thing led to another and before we knew it we were in the midst of a home project.

the wall in our sitting room was tragic. it stood as a classic example of moving into a home and just filling the walls to fill them - not waiting until there was something we really liked. for so long we've loathed the wall, the enormous mirror and stale catalogue sconces. it didn't feel like us at all. i've loved the idea of a gallery wall for some time (remember this post?), but never really took the time to assess our frames/artwork collection and see what we had - until sunday.

i went around the house, into closets, storage areas, the bedrooms and grabbed all the big frames i liked and started to arrange them on the hardwood. when we realized we had enough to work with, the fun really began.

thank goodness for perfectionist ting. there'd be 700 holes in our wall if i tried to do this - not him, one for every single frame. oh, and of course i didn't think through the fact that we'd have to remove all the existing nails/screws, spackle plus re-paint before we could start to hang. doh! luckily he handled this. 

it took half the day, but we're so happy with how it turned out. now we just need to print some photos and find some other prints we love.

{we're so glad to see the frame go. you'll enjoy your new home on craigslist.}


{it's 11-feet wide by 4-feet high}

{you probably recognized the Instagram print from this post}

{see that sevilla feria 1946 print? i toted that thing across western europe and have had it rolled up in the closet since i lived in sevilla, spain in 2004. it's a wrinkled mess, but i love that it's finally up on the wall}

{how great is this watercolor painting of miss sydney? my parents enlisted a local artist to make this for us using one of our favorite photos of her.}

{it's nightime, but we're done! now it's time to get some prints and photos for the frames}

Wednesday, February 29, 2012

first stitch sewing class.

although i grew up sewing with my mom, i haven't touched a sewing machine in my adult life. a few years ago, my mother-in-law was going to get me a sewing machine for christmas, but at the time i just wasn't ready to dive into another project that required more tools, supplies and space around the house. however, over the past few years there have been more and more times when i see fabric, pillow covers, table runners or other projects and think "i could totally make that... if i knew how to sew" so i've been warming up to the idea.

well, while we were at this First Friday's Artwalk in Downtown Phoenix i saw 1st Stitch Sewing Lounge and immediately cruised in to inquire. the owner, Tina, explained that you can rent space ($10/hour) to sew your own projects or take a variety of sewing classes. consideirng i was in the midst of my nine-week sabatical, the timing was perfect so i signed up right away for the next beginners class.

the class was three weeks long, two hours each class. $10 for the first class and $20 for the following two classes for a total of $50 for a 6-hour basic sewing class. sounds good to me! me and my three classmates we went from stitching paper to making a full blown apron in just three weeks. we learned basic machine use, stitching, measuring, fabric pressing and how to follow a basic pattern. 

i'm thinking about signing up for the next intermediate class to learn more about pattern making, button holes, muslin useage, etc.

if you're in the Valley and looking to learn to sew (men or women), i totally recommend calling Tina at 1st Stitch Sewing Lounge. she's super sweet, patient, funny, encouraging and you'll walk away with some great basic sewing knowledge. oh, and she teaches kids 8-17 for free! how great is that? learn more about 1st Stitch here.

week one
{i just love this little downtown shop}
{first up: basic stitching exercises. no thread, just using the needle on paper}
{on the first night, we moved from paper to actually stitching patterns on fabric}

week two
{learning about patterns}
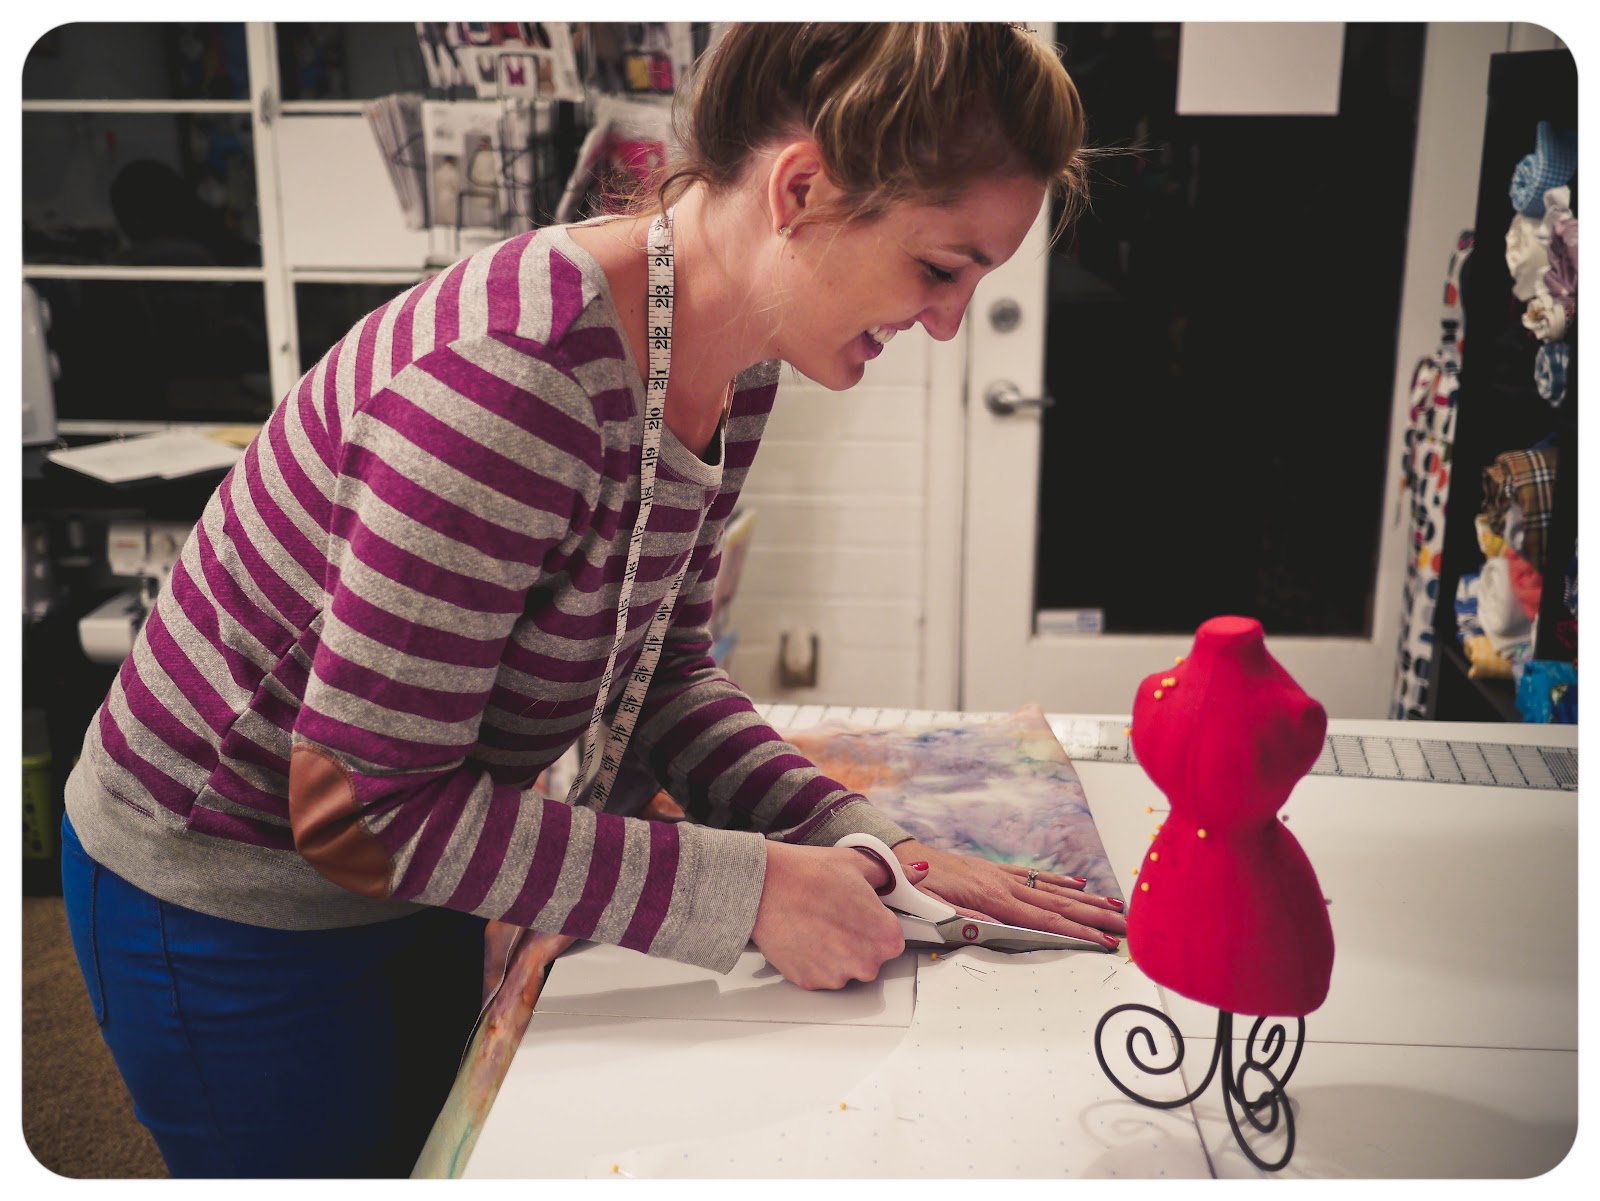
{following my apron pattern. learning proper cutting and measuring techniques}
{that's tina, helping me on my machine}

week three
{tina helping everyone with their finishing touches}
{i never realized how important an ironing board is in the sewing process}
{from pinning to sewing the apron}
{me and my classmates showing off our finished aprons!}